How to use Plutus-Starter to build your own Plutus Project on Cardano
Contributed By: Joe Totes
Introduction
I will be using my NFT project as an example: https://github.com/Totes5706/cardano-alonzo-nft-creator. We will use the Plutus-Starter package to create a Cardano project that can be built as a standalone project using nix.
I used a fake example name "NFT-Maker" just to make this tutorial, however my real project name is cardano-alonzo-nft-creator.
Table of Contents
- How to use Plutus-Starter to build your own Plutus Project on Cardano
- Table of Contents
- 1: Create the Template
- 2: Import Haskell Files into the Project
- 3: Modify the Cabal Files
- 4: Optional Add Cardano Node and CLI into Nix Shell
- 5: Build and Run Project
1: Create the Template
Head to the plutus-start github to get started:
https://github.com/input-output-hk/plutus-starter

Click on the green "Use this template" button in the top right corner of the page to clone the template into your own personal repo:

Select a name for your new Cardano project/repo:

Remove the examples, scripts, and pab directories; they will be replaced with our project files


2: Import Haskell Files into the Project
Now it is time to import our files into the project. It is good practice to have at least two main folders; an app directory for executable files and an src directory for the onchain and utility files.
My project has two executable files, a utilty file, and an onchain haskell file. First we will add the executable (main :: io()) files and create a directory called app:


token-policy.hs

token-name.hs


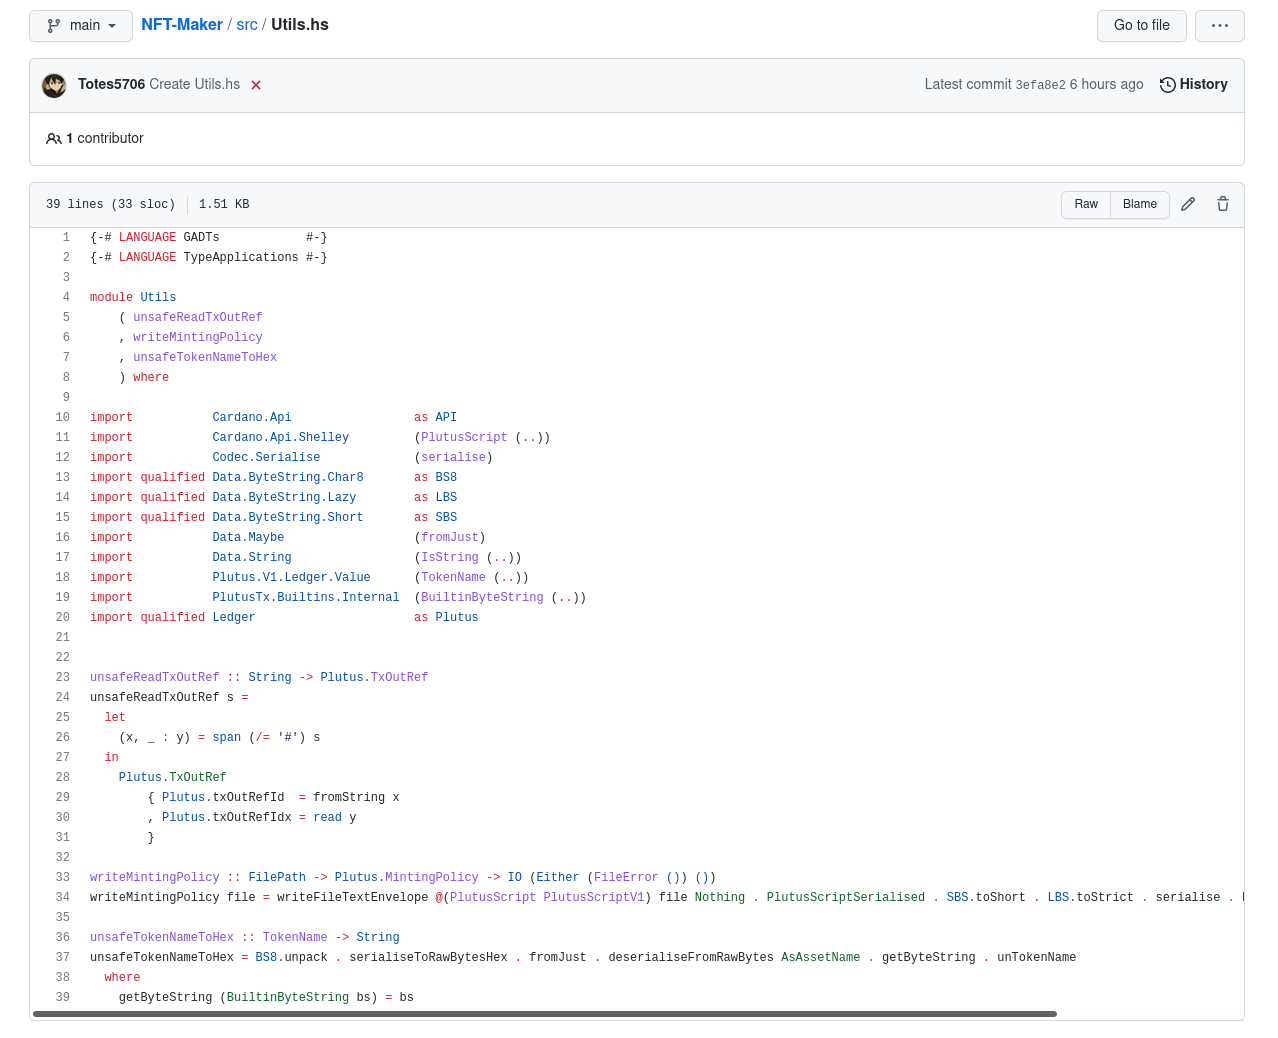
Now we can create the src folder that will contain the onchain code and utility functions that will get called by the executable:
Utils.hs
Token.Onchain.hs


Lastly, I will be importing an env file for the node cardano socket, and also my make-nft.bash script.


Important to note here, my project uses a bash script to call the cabal exectuable files in this project. If you are creating a pure haskell/plutus project, you will not need a script to start your project. You would instead call cabal exec or cabal run depending on the project structure.
Example inside my bash script:
...
#Send these three parameters to the on-chain code of Token.Onchain.hs to validate, then create the policy for the NFT
cabal exec token-policy $policyFile $oref $tn
...
3: Modify the Cabal Files
Open the plutus-starter.cabal file, we can start by renaming this to our project:

Change the name to your project name at the top

Change the name, the author and the maintainer in this file:

Example:
cabal-version:      2.4
name:               NFT-Maker
version:            0.1.0.0

-- A short (one-line) description of the package.
-- synopsis:

-- A longer description of the package.
-- description:

-- A URL where users can report bugs.
-- bug-reports:

license: Apache-2.0
license-files: LICENSE
author:             Joe Totes
maintainer:         email@gmail.com
...

Example of my NFT project with comments:
library
  -- Include this to import the ghc-options and language above
  import: lang

  -- This is the directory location where our onchain code files will go, and also a utility function for my project
  hs-source-dirs:      src

  -- These are the file names that will get called by our executable files listed below
  exposed-modules:     Token.OnChain
                       Utils

  -- These are the imports needed for the files Token.Onchain and Utils. Always include  base >= 4.9 && < 5 for Haskell.
  build-depends:       base >= 4.9 && < 5
                     , aeson
                     , bytestring
                     , cardano-api
                     , containers
                     , data-default
                     , freer-extras
                     , openapi3
                     , playground-common
                     , plutus-contract
                     , plutus-ledger
                     , plutus-ledger-api
                     , plutus-tx-plugin
                     , plutus-tx
                     , plutus-use-cases
                     , serialise
                     , text

-- This is the first executable file that will get called from the cabal exec command, and will be the main :: IO () files for our project
executable token-policy

-- Include this to import the ghc-options and language above
  import: lang

-- This is the file name token-policy.hs, one of the executable files
  main-is: token-policy.hs

-- This is the local directory location of token-policy.hs
  hs-source-dirs:      app

-- Always include this
  ghc-options:         -threaded

-- My executable files have no imports, therefore I only need to include base >= 4.9 && < 5, and the project name
  build-depends:       base >= 4.9 && < 5
                     , NFT-Maker


-- This is the second executable file that will get called from the cabal exec command, and will be the main :: IO () files for our project
executable token-name

-- Include this to import the ghc-options and language above
  import: lang

-- This is the file name token-name.hs, a second executable file
  main-is: token-name.hs

-- This is the local directory location of token-name.hs
  hs-source-dirs:      app

-- Always include this
  ghc-options:         -threaded

-- My executable files have no imports, therefore I only need to include base >= 4.9 && < 5, and the project name
  build-depends:       base >= 4.9 && < 5
                    , NFT-Maker
Example without comments
library
  import: lang
  hs-source-dirs:      src
  exposed-modules:     Token.OnChain
                       Utils
  build-depends:       base >= 4.9 && < 5
                     , aeson
                     , bytestring
                     , cardano-api
                     , containers
                     , data-default
                     , freer-extras
                     , openapi3
                     , playground-common
                     , plutus-contract
                     , plutus-ledger
                     , plutus-ledger-api
                     , plutus-tx-plugin
                     , plutus-tx
                     , plutus-use-cases
                     , serialise
                     , text

executable token-policy
  import: lang
  main-is: token-policy.hs
  hs-source-dirs:      app
  ghc-options:         -threaded
  build-depends:       base >= 4.9 && < 5
                     , NFT-Maker

executable token-name
  import: lang
  main-is: token-name.hs
  hs-source-dirs:      app
  ghc-options:         -threaded
  build-depends:       base >= 4.9 && < 5
                     , NFT-Maker
Once that is saved, open up cabal.project and edit the packages field to now include the cabal file name we just saved:


Example
index-state: 2021-08-14T00:00:00Z

packages: NFT-Maker.cabal

-- You never, ever, want this.
write-ghc-environment-files: never

-- Always build tests and benchmarks.
tests: true
benchmarks: true
...
4: Optional Add Cardano Node and CLI into Nix Shell
By default, the Plutus-Starter package does not include the Cardano-Node and CLI inside the nix-shell when you build the project. After some reverse engineering, this is what needs to be added to the shell.nix file:

The original shell.nix looks like this:

We will modify it to now include the Cardano-Node and CLI by changing to this:
{ pure ? false
, source-repo-override ? { } }:
let
  packages = import ./. { inherit source-repo-override; };
  inherit (packages) pkgs plutus-apps plutus-starter;
  inherit (plutus-starter) haskell;

  cardano-node = import
   (pkgs.fetchgit {
     url = "https://github.com/input-output-hk/cardano-node";
     # A standard release compatible with the cardano-wallet commit is always preferred.
     rev = "1.34.1";
     sha256 = "1hh53whcj5y9kw4qpkiza7rmkniz18r493vv4dzl1a8r5fy3b2bv";
   })
   { };

in
  haskell.project.shellFor {
    withHoogle = false;


    nativeBuildInputs = with plutus-starter; [
      hlint
      cabal-install
      cardano-node.cardano-cli
      cardano-node.cardano-node
      haskell-language-server
      stylish-haskell
      pkgs.niv
      cardano-repo-tool
      pkgs.ghcid
      # HACK: This shouldn't need to be here.
      pkgs.lzma.dev
    ] ++ (pkgs.lib.optionals pure [
      pkgs.git
      pkgs.cacert
      pkgs.curl
      pkgs.jq
    ]);
  }
5: Build and Run Project
Now that everything is complete, we can build the project in nix-shell. First clone it locally:
-
Directory:
totinj@penguin:~$ -
Directory:
Note: If you did step 4 properly, you should have access to cardano-node and CLI. Check it heretotinj@penguin:~/cardano-alonzo-nft-creator$ -
Directory:
[nix-shell:~/cardano-alonzo-nft-creator]$ -
Directory:
[nix-shell:~/cardano-alonzo-nft-creator]$
Now it should be ready to update and build:
- Directory:
[nix-shell:~/cardano-alonzo-nft-creator]$
Now you call your script or cabal executable here